Showing posts with label Little Thumb Up Apr '14 - Orange. Show all posts

Wednesday, 30 April 2014

柑橘宾治 Citrus Fruit Punch

大热天最好来杯冰冰凉凉的饮品,颜色鲜艳的柑橘宾治会合你心意吗?这柑橘宾治的做法很简单,可以随意配搭喜欢的柑橘水果,也可以依个人喜好增加柑橘果汁的份量。如果要做给小朋友喝的话就不要加入覆盆子酒,做成无酒精宾治即可。


祝大家劳动节快乐!Happy Labour Day!


柑橘宾治


材料:
鲜橙 2粒(榨汁)
柠檬 1/2粒(榨汁)
青柠 1/2粒(榨汁)
蜜糖 2汤匙
覆盆子酒 2汤匙
苏打水 适量

薄荷冰块:
薄荷 适量
清水 适量

装饰:
鲜橙,柠檬和青柠各切两小瓣
竹签 2枝

份量:2杯

做法:
1. 将薄荷洗净沥干,只取叶子部份,在冰块模里倒入适量的清水,然后在模里的每一个小格子里加入一片叶子,放入冰箱结成冰块,备用。把鲜橙,柠檬和青柠瓣依次序用竹签串起来做成柑橘串,备用。
2. 在一个高杯里倒入蜜糖,接着再倒入覆盆子酒,然后加入薄荷冰块直到八分满。
3. 把橙汁,柠檬汁和青柠汁加入杯中,接着倒入苏打水直到杯的八分满。
4. 把柑橘串插在杯里做装饰,即可享用!


This post is linked to the event, Little Thumbs up organised by Bake For Happy Kids, and My Little Favourite DIY, hosted by Ann of Anncoo Journal at this post. 


Tuesday, 29 April 2014

蜜糖香橙烤鸡全腿 Honey Orange Roasted Chicken Legs

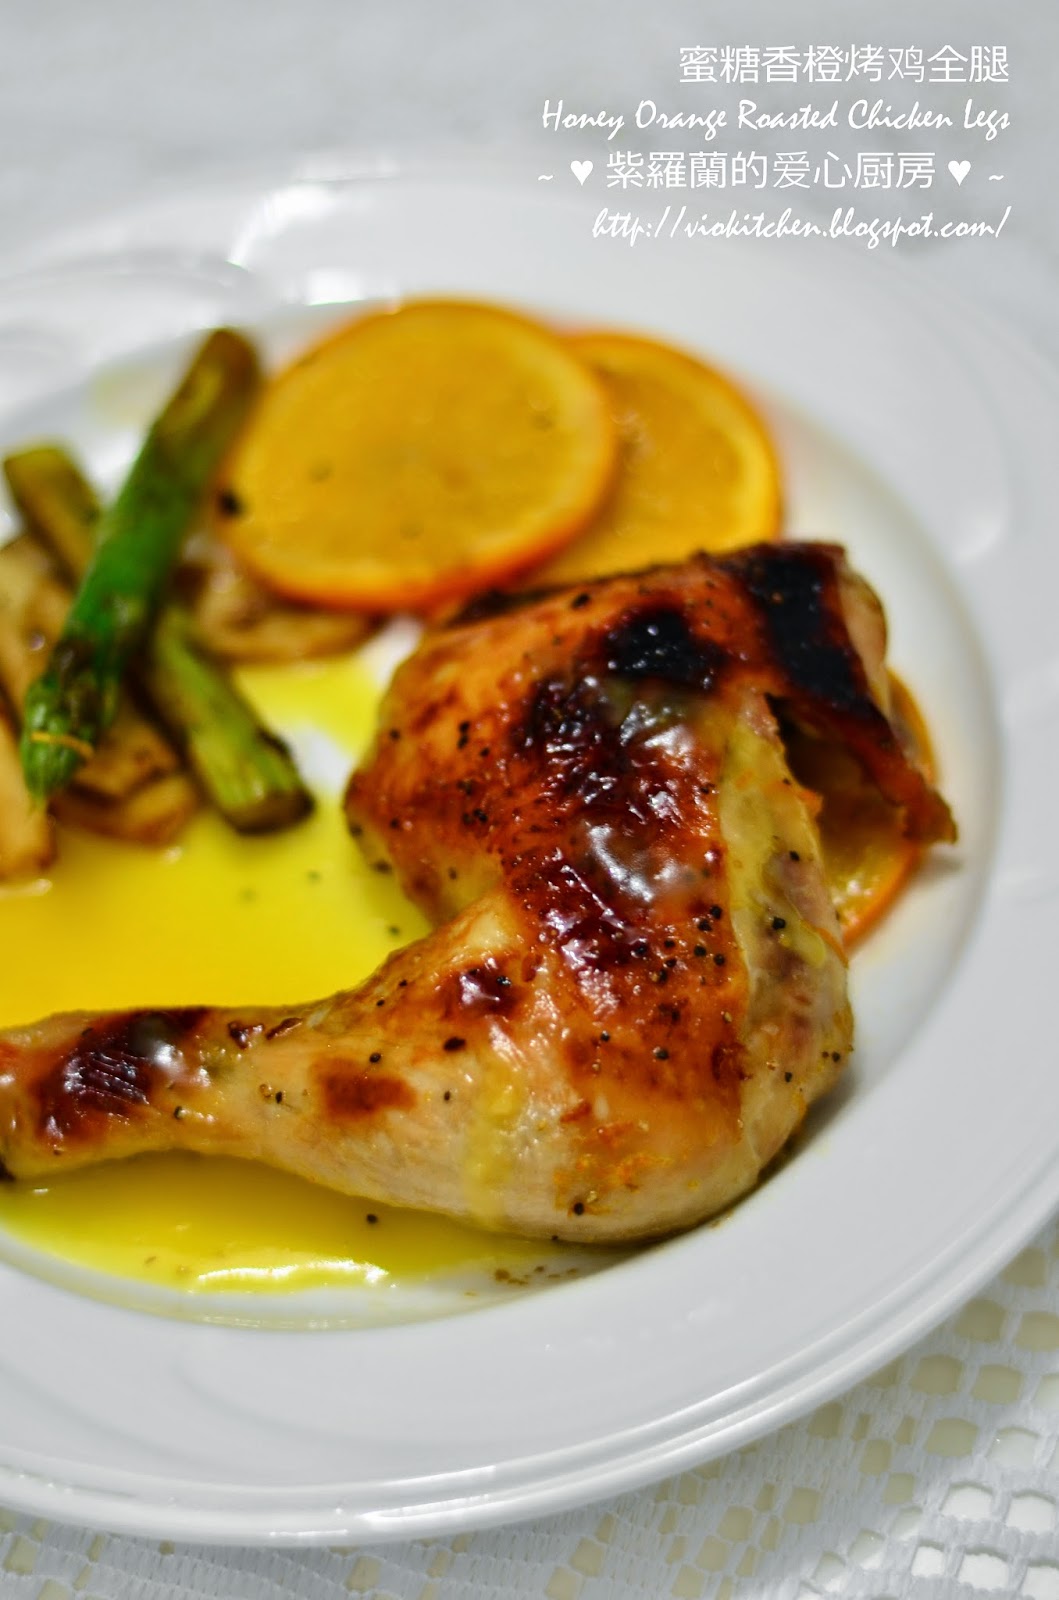
这蜜糖香橙烤鸡全腿是月初时的作品,最近总是很忙,还有很多作品都没空上。那时嘴馋,想到好久都没吃烤鸡了,所以逛超市时买了四个鸡全腿回家,打算用蜜糖和鲜橙来烤鸡腿。蜜糖香橙烤鸡全腿加上盐烧杏鲍菇和清炒芦笋当配菜,简单的晚餐就这样完成了。

对于这烤鸡老公给了不错的评语,平时都是用全鸡来烤,鸡肉朝下的那一部位每次皮都是不脆的,有时沾到烤鸡的汁都会湿嗒嗒的,所以每次老公都会投诉,用了鸡全腿来烤,每个鸡全腿的皮都烤得香香的,他应该不会再投诉我了吧!烤鸡带点淡淡的柑橘香和蜂蜜香,沾上少许酸酸甜甜的蜜糖香橙酱汁真的很开胃!


蜜糖香橙烤鸡全腿 Honey Orange Roasted Chicken Legs


材料:
鸡全腿 4个
鲜橙 1颗 (横切片)
橄榄油 适量

蜜糖香橙牛油:
牛油 100克(室温)
鲜橙皮茸  2粒橙的份量
蜜糖 1/4杯
盐 1茶匙
黑胡椒碎 1/2茶匙

蜜糖香橙酱汁:
牛油 1汤匙
面粉 1汤匙
鲜橙2粒(榨汁)
蜜糖 2汤匙
盐适量
黑胡椒碎 适量

做法:
1. 将鸡腿洗干净抹干备用。把蜜糖香橙牛油的材料放在一个小碗里混和均匀,把一部份的牛油混合物涂抹于鸡的皮与肉之间,剩余的涂抹在鸡全腿表面,腌制1小时或以上。
2. 在烤盘上倒些橄榄油,把鲜橙片铺排在烤盘里,然后把腌好的鸡腿放在鲜橙片上面,最后倒入1/2杯水。
3. 将烤盘放入预热180°C的烤炉里,烤大约45分钟或至鸡腿熟即可。烤好后将鸡腿取出,让鸡腿休息大约10分钟。
4. 蜜糖香橙酱汁:烧热一个小锅,加入牛油,然后慢慢加入面粉炒至均匀。把橙汁缓缓加入,一面加入一面搅拌,让面糊和橙汁混合,混合至均匀后以小火煮至带点浓稠即可,最后加入蜜糖,盐和黑胡椒碎调味就可熄火。
5. 将鸡腿,橙片和其他配菜排盘,淋上蜜糖香橙酱汁,乘热享用。


This post is linked to the event, Little Thumbs up organised by Bake For Happy Kids, and My Little Favourite DIY, hosted by Ann of Anncoo Journal at this post. 


Monday, 21 April 2014

柑橘沙拉 Citrus Fruit Salad

我很爱吃柑橘类的水果,从味道甜中带酸的鲜橙、柚子到很酸的葡萄柚我都爱。最近发现了新的柑橘水果,上两个星期逛超市时老公无意发现了日本的柑橘春香Haruka和凸柑Dekopon,第一次看见时我嫌价钱贵,所以就没买了,回家后想了想,错过季节后可能要等一年后。前几日又再回去同一间超市,想要试新的水果的我又再看见这些日本柑橘了,看看价钱,好像比第一次看到的便宜,禁不起诱惑的我就这样把一包五粒的Haruka带回家。

一开始看见Haruka时我还以为是Yuzu柚子,不过印象中柚子的体型较小,而Haruka像一般的橙的大小,别看这外形黄色的Haruka和柠檬相似,味道和柠檬绝然不同,品尝后感觉很惊讶,因为Haruka的味道完全不酸,它是带点甜的。拿了一粒Haruka来做烤鸡蛋糕,想要实验一下Haruka的皮是否想一般的橙或柚子一样那么香,出来的效果不错,我还额外加了些蜜糖,烤出来的蛋糕有淡淡的柑橘和蜂蜜香,不过很可惜,因为我心急,蛋白拌入面糊时不是很均匀,结果一部份的蛋糕不能吃。


这个月小拇指活动的主题是香橙飘香,我被Ann家的柑橘沙拉给吸引到了,决定来个柑橘大集会,将我喜欢的柑橘集合起来做沙拉,照了原食谱用了香橙和葡萄柚,然后我又额外加了新买的日本Haruka柑橘。至于沙拉酱汁方面我将蜜糖改为韩国柚子蜜,让这个沙拉吃起来带点柚子香。最近很喜欢在饮料中加入奇异籽,因为它的营养价值高,看包装的标签那里写着Omega-3是三文鱼的8倍,镁(Magnesium)是西兰花的15倍,钙质是牛奶的5倍,抗氧化是蓝莓的3倍。食用方法很简单,只需将奇异籽撒在水里,搅拌一下,15分钟后就可饮用,也可以撒在沙拉和果汁里,所以我也在沙拉的酱汁里撒了少许。


炎热的天气里人总是懒懒没什么胃口,吃了这酸酸甜甜的沙拉,胃口全回来了。如果想要消署的话,还可以伴与雪糕当甜点来吃。


我用了Haagen-Dazs 新的芒果与覆盆子雪糕来伴这柑橘沙拉。


黄色的春香Haruka


包装袋后面有印着Haruka的建议切法。


柑橘沙拉
(食谱参考 Anncoo Journal 和 Health.com,做少许更改)

材料:
葡萄柚 1粒
鲜橙 3粒
日本春香柑橘 1粒
韩国柚子蜜 1汤匙
奇异籽 1/2茶匙

做法:
1. 用利刀去掉葡萄柚,2粒鲜橙和日本春香柑橘的内白皮,然后把果肉切瓣。
2. 将剩下的那粒鲜橙榨汁,把橙汁,韩国柚子蜜和奇异籽放入一个小碗里,搅拌均匀。
3. 将切好的果肉和沙拉酱汁放入冰箱冷藏。
4. 享用前将果肉放入碗中,淋上沙拉酱汁即可。也可在碗里放入一勺的雪糕,加入适量的柑橘沙拉,淋上沙拉酱汁当甜品食用。


Citrus Fruit Salad
(Recipe adapted from Anncoo Journal and Health.com, with some minor changes)

Ingredients:
1 Pink grapefruit
3 Oranges
1 Japan Haruka citrus fruit
1 tbsp Korean Citron Honey
1/2 tsp Chia seeds

Method:
1. Peel and segment grapefruit, 2 oranges and Haruka citrus fruit with a sharp knife.
2. Juice remaining orange. Whisk orange juice, Korean Citron Honey and Chia seeds together in a small bowl.
3. Refrigerate citrus segments and the salad dressing in fridge until ready to serve.
4. Place citrus segments in a serving bowl and pour some salad dressing over it before serving. Or you can serve with a scoop of ice cream as dessert.


This post is linked to the event, Little Thumbs up organised by Bake For Happy Kids, and My Little Favourite DIY, hosted by Ann of Anncoo Journal at this post. 


Wednesday, 9 April 2014

香橙大理石烤鸡蛋糕(饭锅版) Orange Marble Baked Egg Cake (Rice Cooker Version)

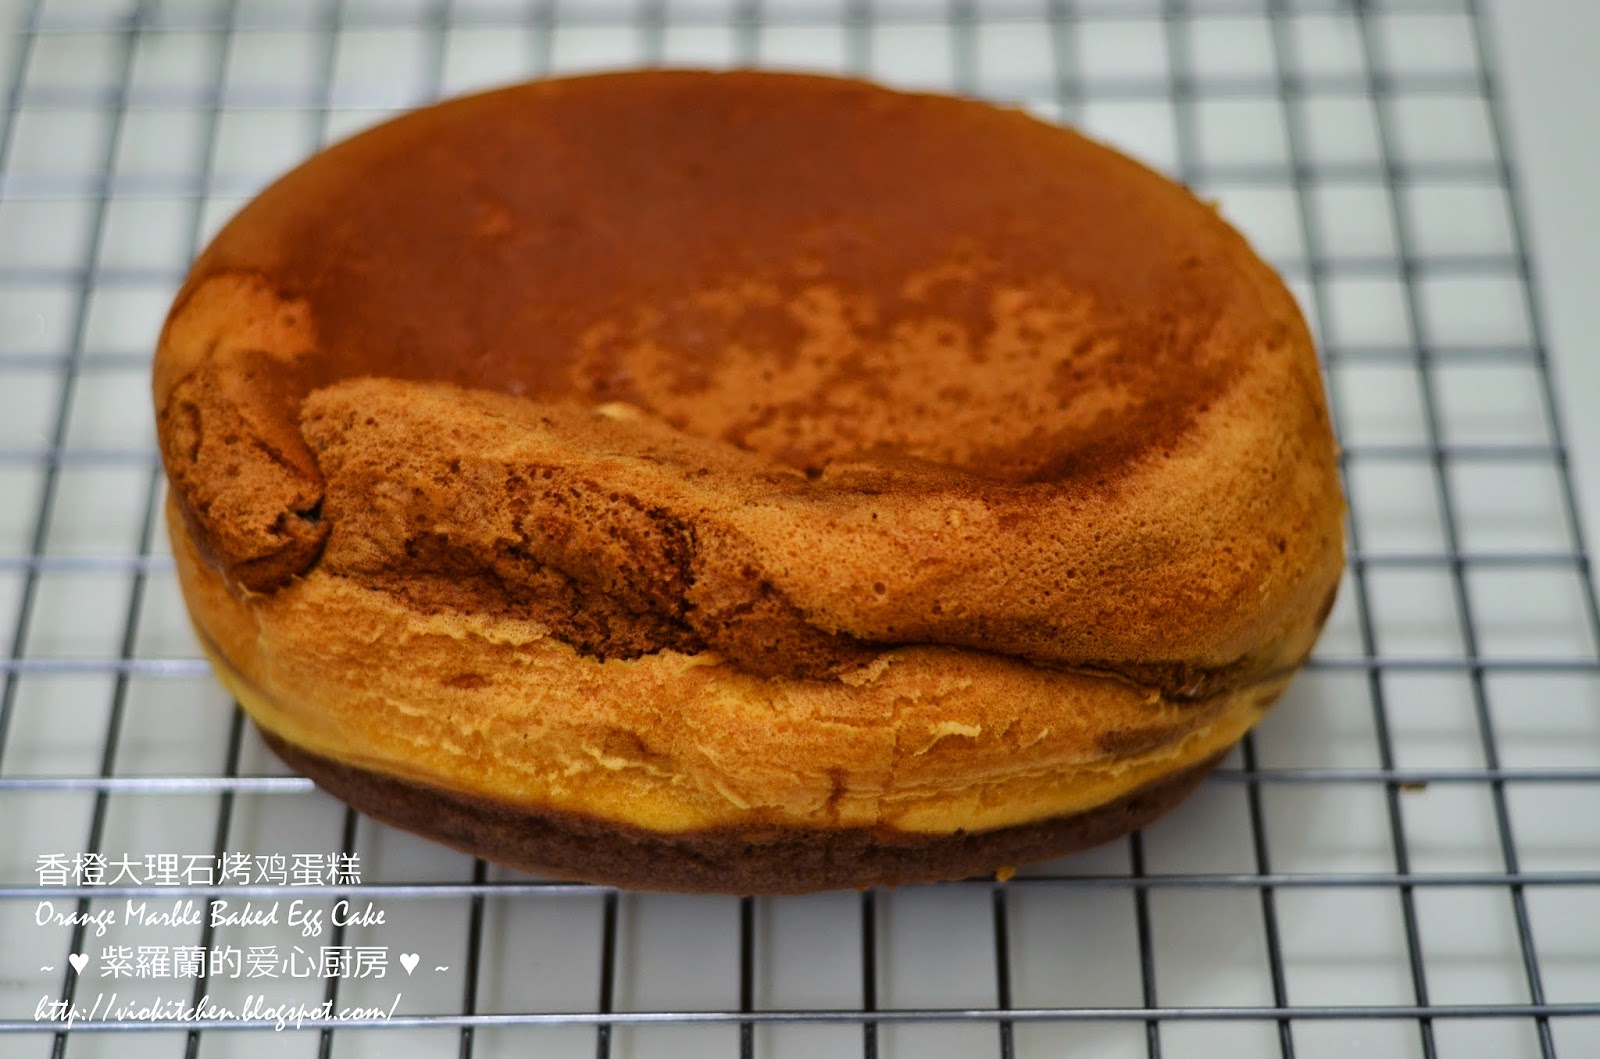
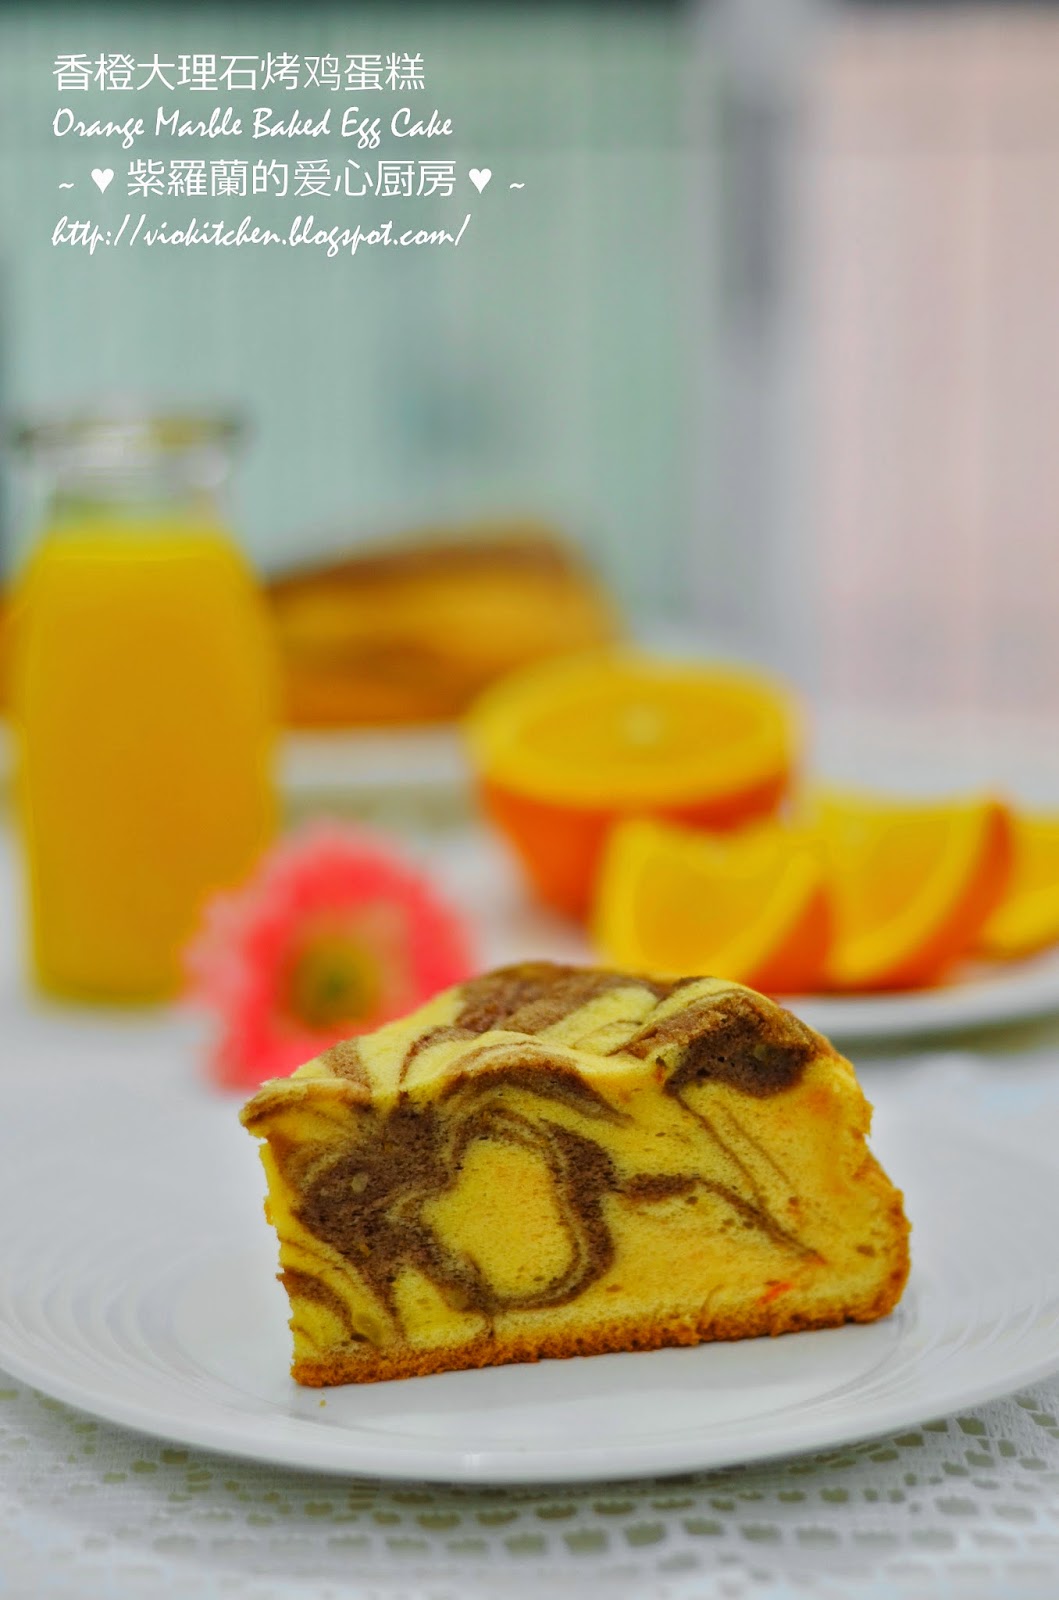
烤鸡蛋糕这个食谱实在太好了,可以有很多变化,烘烤的时间又短,真的很适合有点忙的我。续彩色地图烤鸡蛋糕和摩卡大理石烤鸡蛋糕后,我又烤鸡蛋糕了,这次是香橙大理石版本的烤鸡蛋糕,这灵感是来自上次烤过的香橙榛果可可戚风蛋糕。有了上次的经验,这次的烤鸡蛋糕里我加重了橙皮茸的份量,而可可方面毕竟也是点缀而已,所以只用少少的榛果可可酱来做可可面糊,不然就会像上次一样,可可味过重。榛果可可酱是姐姐旅行时带回来的手信,我发觉用来做蛋糕挺方便的,由于没有收入冰箱,所以可可酱有点呈糊状,拌入面糊也挺容易的。这次的蛋糕我选择用电饭锅来烘,其实我家的饭锅是有烘蛋糕的功能,不过随饭锅附送的食谱已不知所踪,时间方面只好自己研究和试验。这是第二次用饭锅来烘蛋糕,之前尝试了烘长崎蛋糕,原食谱做法是用全蛋打发,对于这个我可能还不太行,味道还可以,不过蛋糕组织就很粗燥。试验版本我照着原食谱只用了三粒蛋,结果蛋糕扁扁的,约有一寸半左右,除了蛋糕组织外,整体上都算成功。


之前怀着小宝贝时总怕不够维他命,所以每个星期都会买一大包橙回来,放在冰箱里,得空没事就切来吃,或榨汁喝。现在有点忙的我平时也很少吃水果了,加上之前冰箱总是满满的,我也不敢买这么多水果回来。鲜橙的种类蛮多的,Valencia,Navel和Cara-Cara是几种比较常见的,可是无论是榨汁还是吃果肉,我都爱选Valencia Orange,我个人觉得橙的香气较浓,汁又多,带点微酸,吃起来特别开胃,嘻嘻,所以那时怀孕其间就吃了一大堆的Valencia Orange。


图中的高瓶子是早前购物时败回来的,
城中又有一间大型购物广场开张了!
印象中那间店我去新加坡旅行时有逛过,
里面卖的东西都很特别,很高兴在这里也有分店。
有兴趣的朋友也可以上网购物。


一部份的蛋糕粘在饭锅底,倒扣时还连着饭锅底,导致我原本美美的蛋糕就这样毁了。不过只是外形不美而已,并不影响口感!


粘在饭锅底的蛋糕,我已经搽了一层油,结果还是有些部份会粘底,也可能是因为饭锅已经有段时间了,底部一部份的不粘层可能已经被磨掉了。


这是我家Panasonic SR-LV18,10杯/18L容量的电饭锅。


第一次用饭锅烘的长崎蛋糕 ,食谱参考这里,我按“CAKE”键共烘了35分钟。上一次的成品脱模时很好,没粘底,表面美美的,唯一可惜的是粗燥的蛋糕组织,不过还好有清香的蜂蜜味来搭救一下。


香橙大理石烤鸡蛋糕

材料:
蛋白 6个
幼糖 130克
蛋黄 6个
全蛋 2个
粟米油 100克
低筋面粉 130克(过筛)
鲜橙汁 60毫升(1粒橙)
橙皮茸 2粒橙
香橙草香精 1茶匙
橙色素 数滴
榛果可可酱 2汤匙

做法:
1. 将蛋黄,全蛋,粟米油,低筋面粉,鲜橙汁,橙皮茸,香橙香精和橙色素搅拌均匀成蛋黄糊备用。

2. 把蛋白打至发泡后,分数次慢慢地加入幼糖打至硬性发泡。

3. 把蛋白霜分三次轻轻地拌入蛋黄糊里。

4. 把1/3的面糊勺入另一个碗里,加入榛果可可酱拌匀成可可面糊。

5. 在电饭内锅内抹上一层油,然后将橙味面糊与可可面糊交替倒入内锅里,用筷子在面糊里以“8”字形划,形 成大理石纹。

6. 轻震出大气泡,放入电饭锅内,按“CAKE”键,然后开始烘大约60-70分钟或至熟即可(将竹签插入蛋糕内,取出如果没粘液沾在竹签上即是熟了)。烘好后将内锅取出,立刻倒扣待冷,脱模切片即可。

烤箱版:
放入预热160ºC的烤箱里,烘烤30-35分钟。

备注:
**我用Panasonic SR-LV18,10杯/18L容量的电饭锅。
**我按“CAKE”键两次,总共烘的时间是1小时5分钟。“CAKE”键的原本设定是40分钟,第一次烤了40分钟后蛋糕还是没熟,所以我再按“CAKE”键第二次,让蛋糕继续烘。按了第二次的“CAKE”键后我就不时去检查看蛋糕熟了没,以防止底部烧焦。以上食谱的时间只供参考而已,烘的时间视饭锅的牌子/型号而定。
**食谱参考这里,做了一些更改。烤鸡蛋糕的原食谱是来自Chris Lim。


Orange Marble Baked Egg Cake

Ingredients:
6 eggs white
130g caster sugar
6 egg yolks
2 whole eggs
100g corn oil
130g superfine flour (sifted)
60ml freshly squeezed orange juice (1 orange)
Grated orange zest from 2 oranges (outer orange skin)
1 tsp orange essence
Few drops of orange colouring
2 tbsp Nutella Hazelnut-cocoa Spread

Methods:
1. In a mixing bowl, whisk the egg yolks, whole eggs, corn oil, orange juice, orange zest, orange essence, orange colouring and superfine flour until well combined.

2. In another mixing bowl, beat the egg whites until it look bubbly and foamy, then gradually add in the caster sugar and continue to beat until stiff peak form.

3. Use a spatula gently fold in the egg white meringue to the egg yolks mixture, then fold in the remaining egg whites to the mixture.

4. Scoop out 1/3 of the batter to a bowl. Add Nutella Hazelnut-cocoa Spread to the batter and mix well.

5. Grease the pot of the rice cooker, then scoop spoonfuls of two batters and put them in the pot of rice cooker, alternate the orange and chocolate batter. Then use a skewer or chopsticks to insert and gently swirl it to create the marble like pattern.

6. Gently knock the pot of the rice cooker to remove any air bubbles, place the pot in the rice cooker, close the rice cooker, then press the "CAKE" button to start, bake for 60-70 minutes or when skewer is inserted in the centre of the cake and it comes out clean. Invert the cake immediately after baking and leave it to cool before cutting into slices.

How to bake in the oven:
Bake in an oven at 160ºC for 30-35 minutes or when skewer is inserted in the centre of the cake and it comes out clean.

Notes:
**I am using Panasonic SR-LV18 with 10 cups / 18L capacity.
**I pressed the "CAKE" button 2 times and took a total of 1 hour and 5 minutes. The default setting for "CAKE" function is 40 minutes, after 40 minutes the cake is half-baked, so I press the "CAKE" button to start bake once again. After pressed the "CAKE" button for second time, I checked from time to time to ensure the cake is not over-baked. The time stated in the recipe is for reference only, the actual baking time may vary depending on the tbrand/model of rice cooker that you are using.
**Recipe was adapted from here, with some minor changes. Original recipe of baked egg cake was from Chris Lim.


This post is linked to the event, Little Thumbs up organised by Bake For Happy Kids, and My Little Favourite DIY, hosted by Ann of Anncoo Journal at this post. 


I am also submitting this post to Rice Cooker Cake Challenge #1 - Are You Game for It? hosted by Miss B of Everybody Eats Well in Flanders.


Related Posts Plugin for WordPress, Blogger...